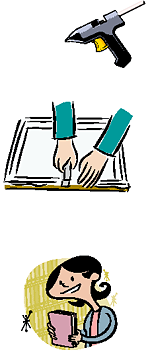
- Put a line of glue on one edge of the binder with the glue gun.
Pull the material over and attach it to the binder.
- Repeat this for each side. It is best to do only a small section at a
time because your glue will cool down and it won't stick.
- You can cover the inside cover. Cut a piece of light
cardboard or Bristol board (cereal boxes work well
too) so that it is large enough to cover the inside
cover.
- Now cut a piece of material that is a bit larger than the cardboard. Use the
glue gun to glue the material to the cardboard.
- Now glue the covered cardboard to the inside front
cover. Repeat this for the back cover.
- Put your page protectors in the binder.
- Your project is now complete and ready to fill!
| You
can use these padded keepsake books for many things:
|
- Baby
books
- School
books to keep report cards, journals, school pictures,
and projects
- Family
photo albums
- Christmas
or birthday albums to keep letters to Santa, artwork
done at the special times and photos of your child
- Journals
|
|
|


