Part 1: Build the switch
Now it’s time to put the switch together. Remember to be careful when
working with the tin can lids. They’re sharp!
- The two tin can lids will be the two sides of the switch.
- Use a magic marker to trace the shape of one tin can onto the sponge.
- Draw a line to divide the circle you have drawn in half.
- Cut a half circle out of the sponge.
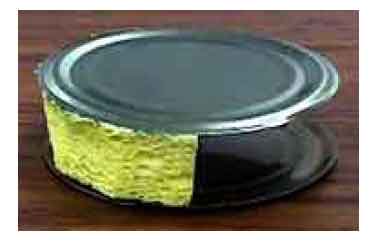
- Glue the sponge to both tin can lids so that it looks like the picture.

Your work should look like this
You’re ready to get wired!

